iPhone ...
Getting Started Guides
Getting Started Guides
New Account Creation
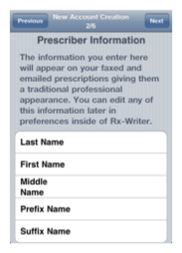
The information you enter in Prescriber Information will appear on your printed, faxed and electronically sent prescriptions. Type your first name, last name, middle name or initial, and any prefix and/or suffix as you would like them to appear on your prescriptions.
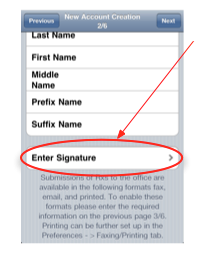
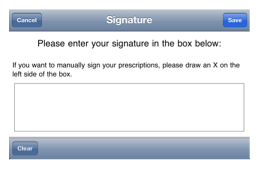
To create your signature for your Rx-Writer prescriptions, tap the Enter Signature field below. You can use your finger or a stylus. Later, you will be able edit your signature as needed within the preferences section of Rx-Writer. After you have entered your signature, tap the next button in the upper right hand corner to proceed to step three.
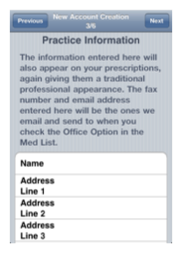
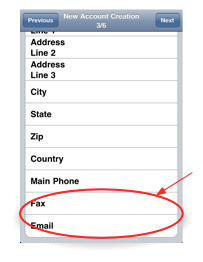
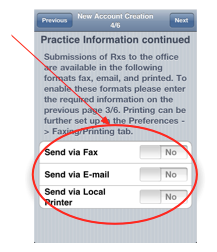
Enter your Practice Information as you want it to appear on your prescriptions. This information gives your prescriptions the professional appearance of a traditional prescription.
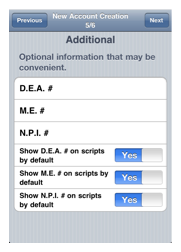
Step five allows you to add your DEA#, M.E.#, N.P.I.#, and set display defaults for each. This may be edited later under preferences from within Rx-Writer. When complete, touch the next button in the upper right corner. This will take you to the final section of setup.